We are almost finished building our DIY greenhouse out of old windows and we are getting ready for the big final reveal.
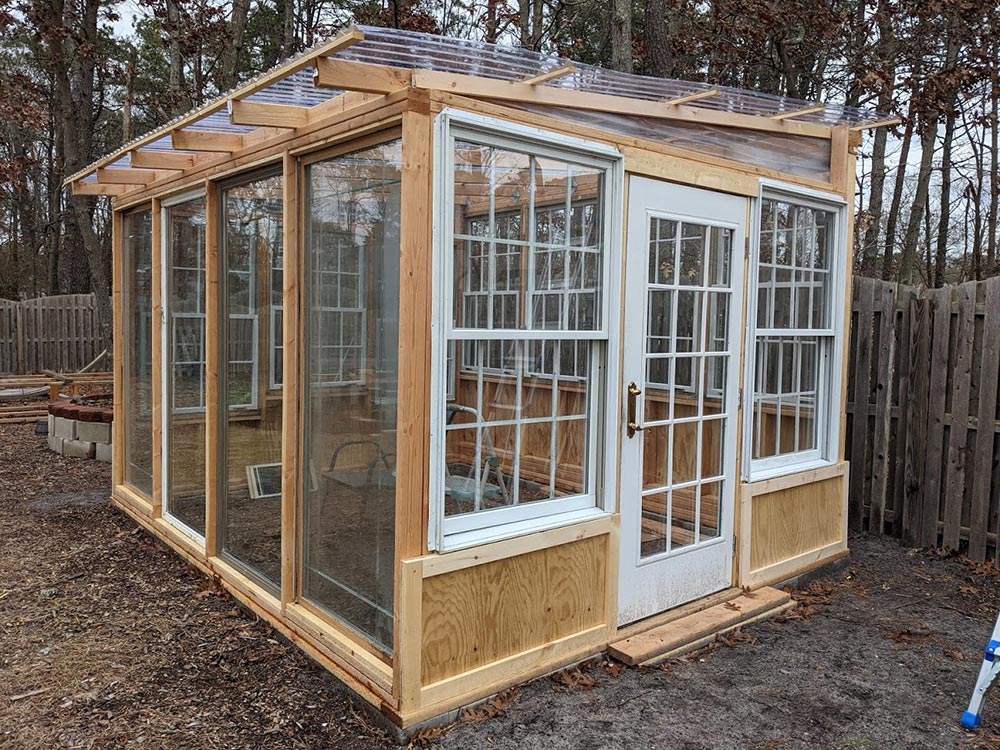
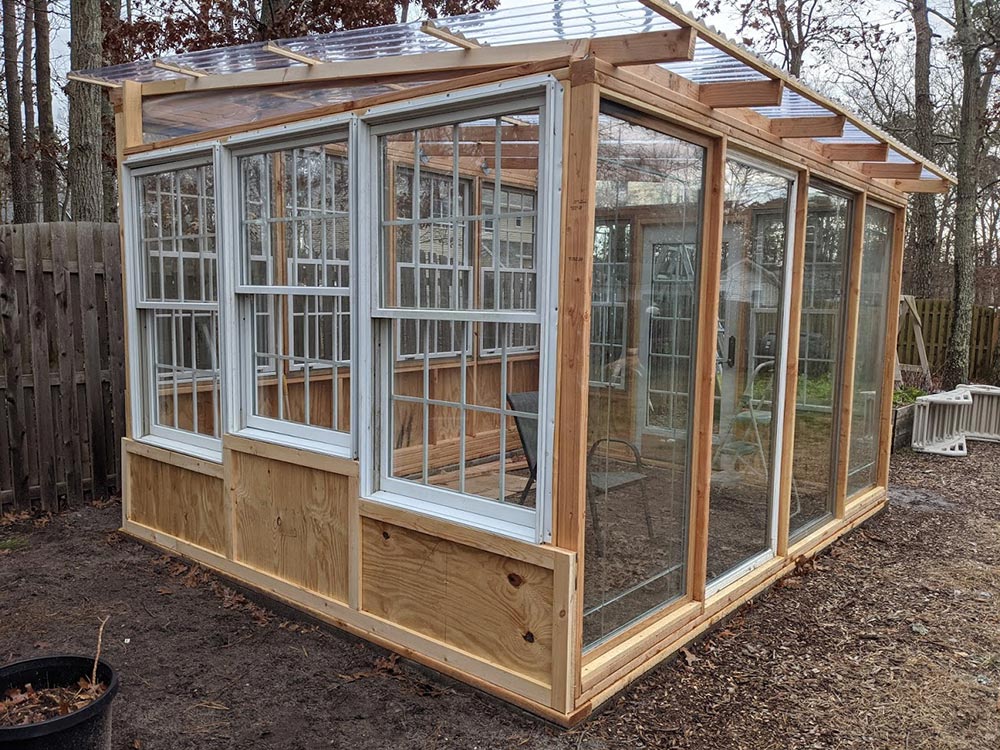
I installed the decorative trim around the outside plywood panels to give it a “shaker cabinet” type of finished look. I used the 1×3 common boards I had originally purchased to use across the roof rafters to support those panels. I decided to use pine 1×2 boards instead for that purpose – so rather than return the common boards, I used them for decorative trim.
[su_row][su_column size=”1/2″ center=”no” class=””]
[/su_column]
[su_column size=”1/2″ center=”no” class=””]
[/su_column][/su_row]
At this point, I’m itching to paint. I want to see what it will look like, but most of all, I want to start moving in! Before I could grab my brush and my paint clothes, I needed to decide on how to insulate the roof.
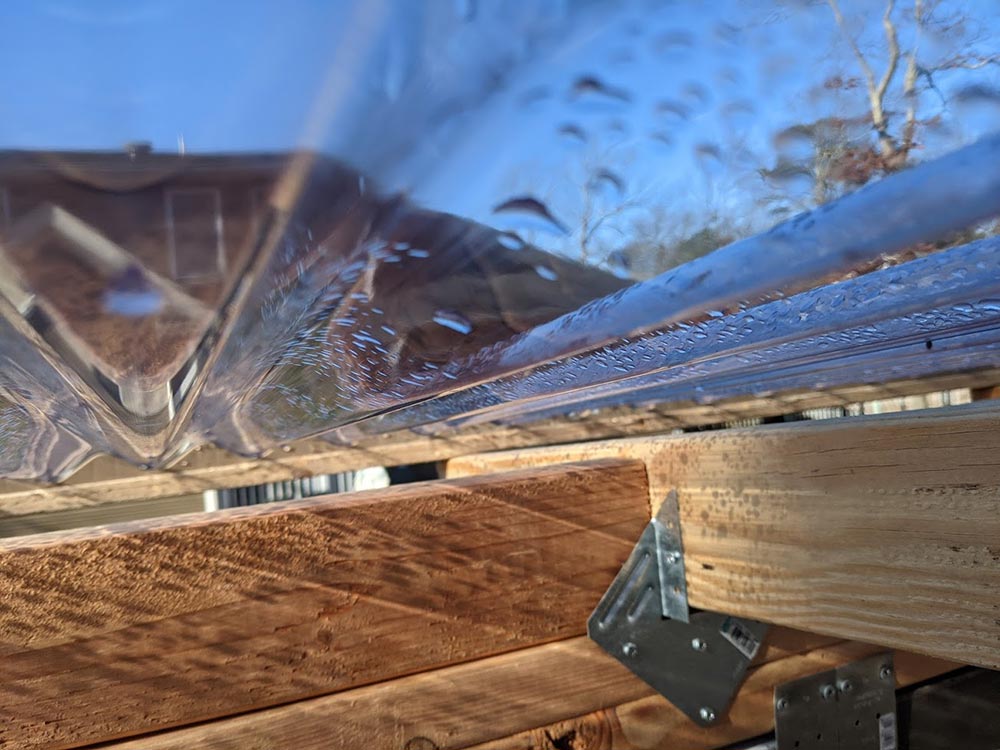
There was a gap between the roof rafters and the plastic panels – the height of the 1×2 pine boards with the plastic roof brackets attached to them. This meant I needed something to fill that space that was flexible and approximately 1.5 inches high. The weather stripping solutions at Home Depot were unhelpful as even the largest material was only meant to fill a half inch gap.
[su_row]
[su_column size=”3/4″ center=”no” class=””]
I briefly considered using a product meant to be a weather seal for garage doors, but they would have needed to be nailed to the top of the wall. That may have sealed the space between the rafters and that still would have left gaps above each rafter.
Instead, I decided to use black foam pipe insulation that was affordable and came in six foot lengths. It’s easy to cut and wedge into the open space. It’s neat and soft enough to mold to the shape of the roof and fill in the space almost completely. They are also easy to remove or replace if I ever need to.
They fit really well! The pictures below clearly show the gap that needed to be filled and the foam I was cutting and fitting into the open spaces.
[/su_column]
[su_column size=”1/4″ center=”no” class=””]
[/su_column]
[/su_row]
[su_row][su_column size=”1/2″ center=”no” class=””]
[/su_column]
[su_column size=”1/2″ center=”no” class=””]

[/su_column][/su_row]
Rock landscaping to protect the paint
Before I started painting, I noticed that each time it rained, the rain would splash dirt up onto the bottoms of the greenhouse walls. It brushed off easily with a dry cloth the next day, but it made a big mess and since I wanted to paint the greenhouse white, I knew I wouldn’t want to go wipe down the outside of the greenhouse after each storm.
A local neighbor was giving away big river rocks on Facebook marketplace, so I messaged the “seller” for the address and headed over in my pickup to collect the stones. Using two 5 gallon buckets, I loaded the unwanted rocks into my truck and used these to create a landscape border about a foot wide around the greenhouse. It’s cut down on the splashing dirt quite a lot. I could use a few more stones to fill in the gaps and make it a bit wider, but it’s working to keep the walls cleaner than they were.
Painting the greenhouse inside out
[su_row][su_column size=”3/4″ center=”no” class=””]
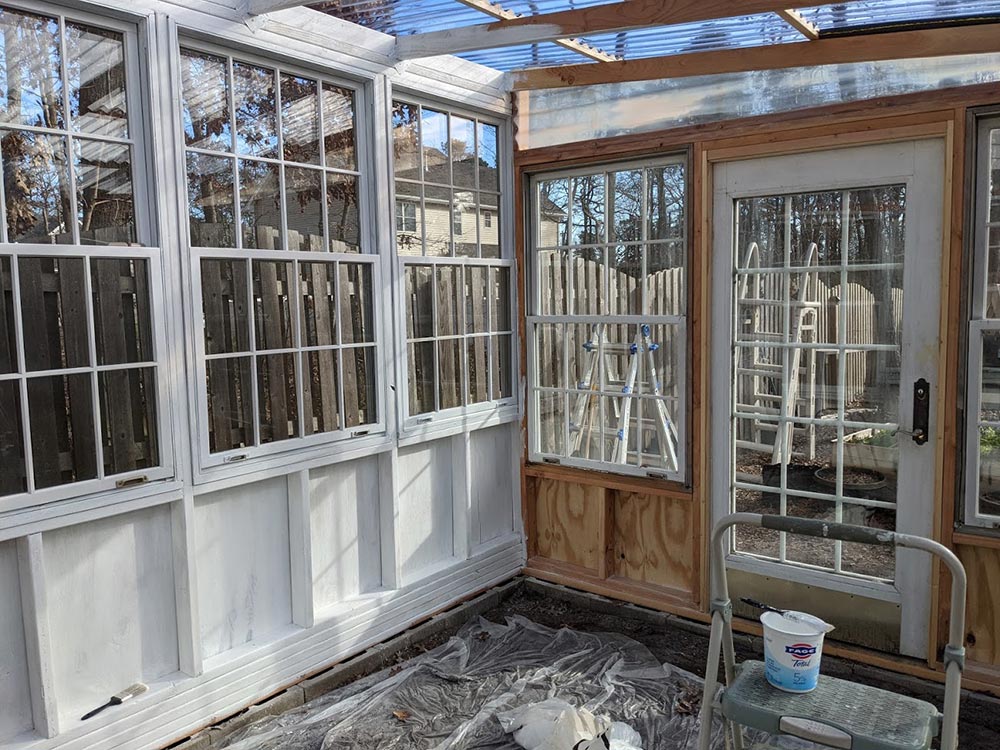
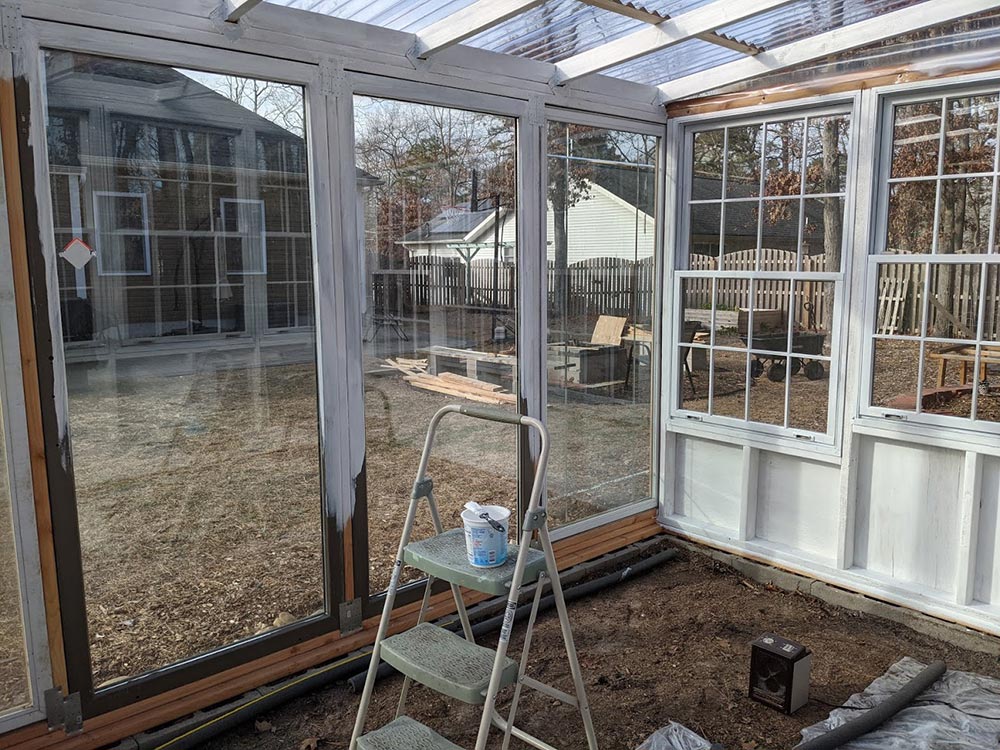
I started by painting the inside of the greenhouse. The wood was untreated and I know humidity levels will be high inside so I used exterior paint on both the inside and the outside of the structure. It took me a longer time than it should have because I used a 1 inch brush for the whole thing… but there were so many crevices and edges that I thought using a larger brush would be frustrating.
I listened to alternating lectures on search engine optimization and soil health while I worked. Why would I rush?
The concern with painting with exterior paint outdoors in the winter time is that it’s too cold for the paint to set properly. The label said that it can be applied between 35* and 90-something degrees Fahrenheit. Thankfully, though the weather outside was just in the high 30s, the temp inside the greenhouse went from 60s to 70s while I was working. For best results, the temp should stay above 35* for four hours after the paint is applied, so as long as I watch the weather and paint early in the day, I should be ok to get the whole thing painted before next week.
[/su_column]
[su_column size=”1/4″ center=”no” class=””]
[/su_column][/su_row]
[su_row][su_column size=”1/2″ center=”no” class=””]
[/su_column]
[su_column size=”1/2″ center=”no” class=””]
[/su_column][/su_row]

