[su_row][su_column size=”1/2″ center=”no” class=””]
[/su_column]
[su_column size=”1/2″ center=”no” class=””]
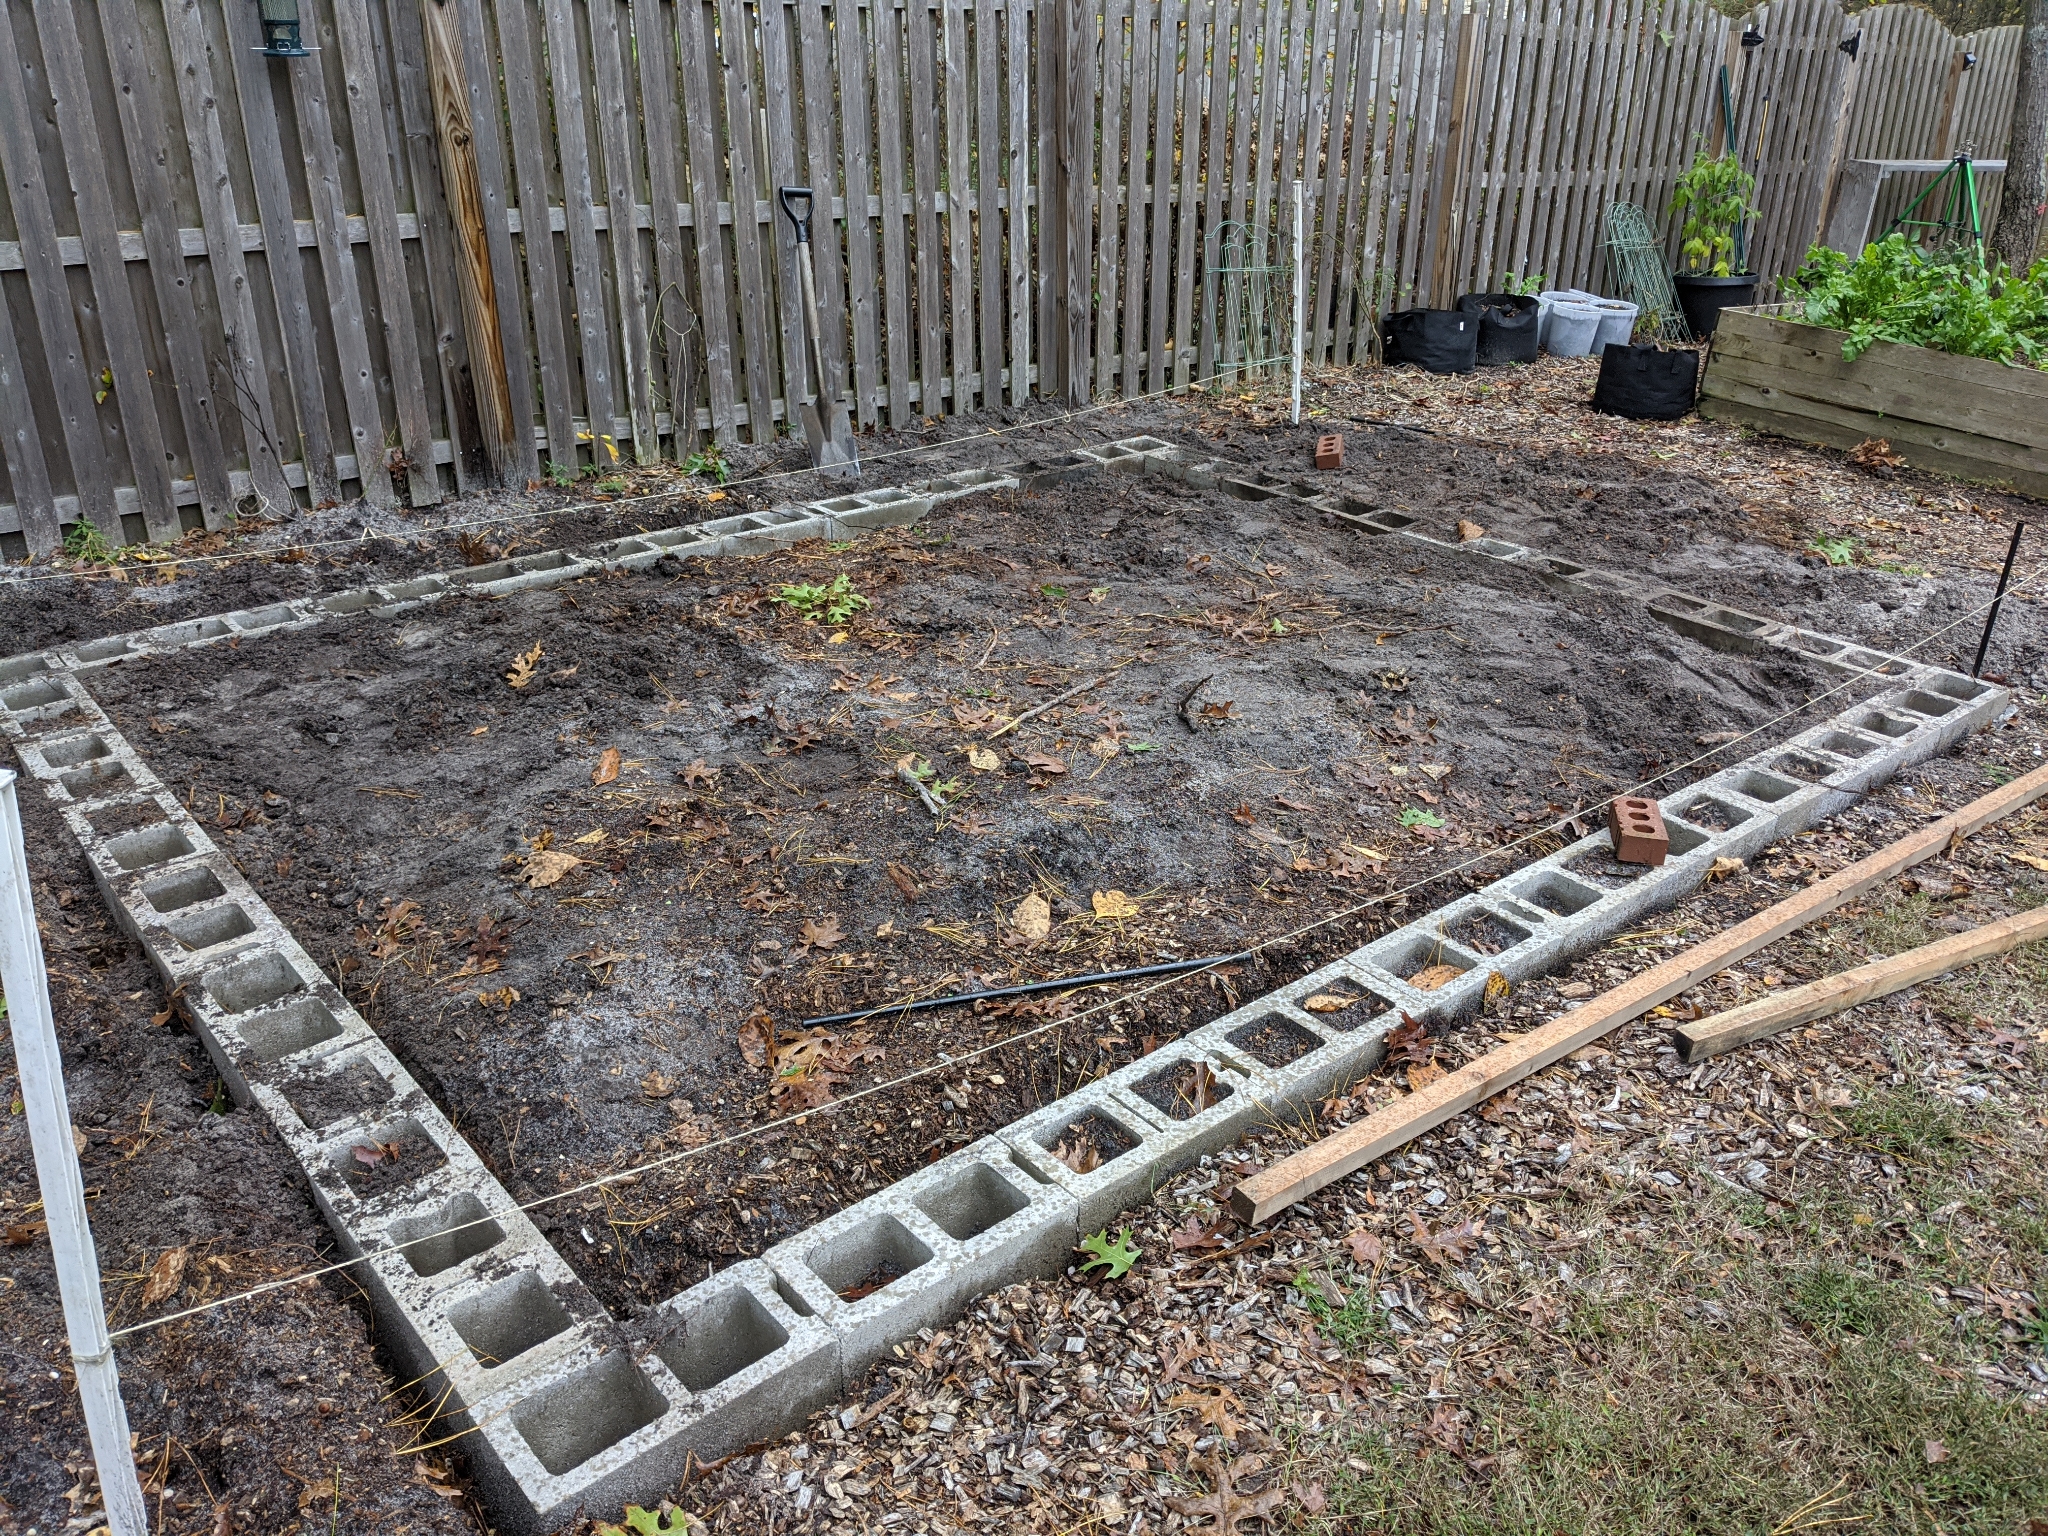
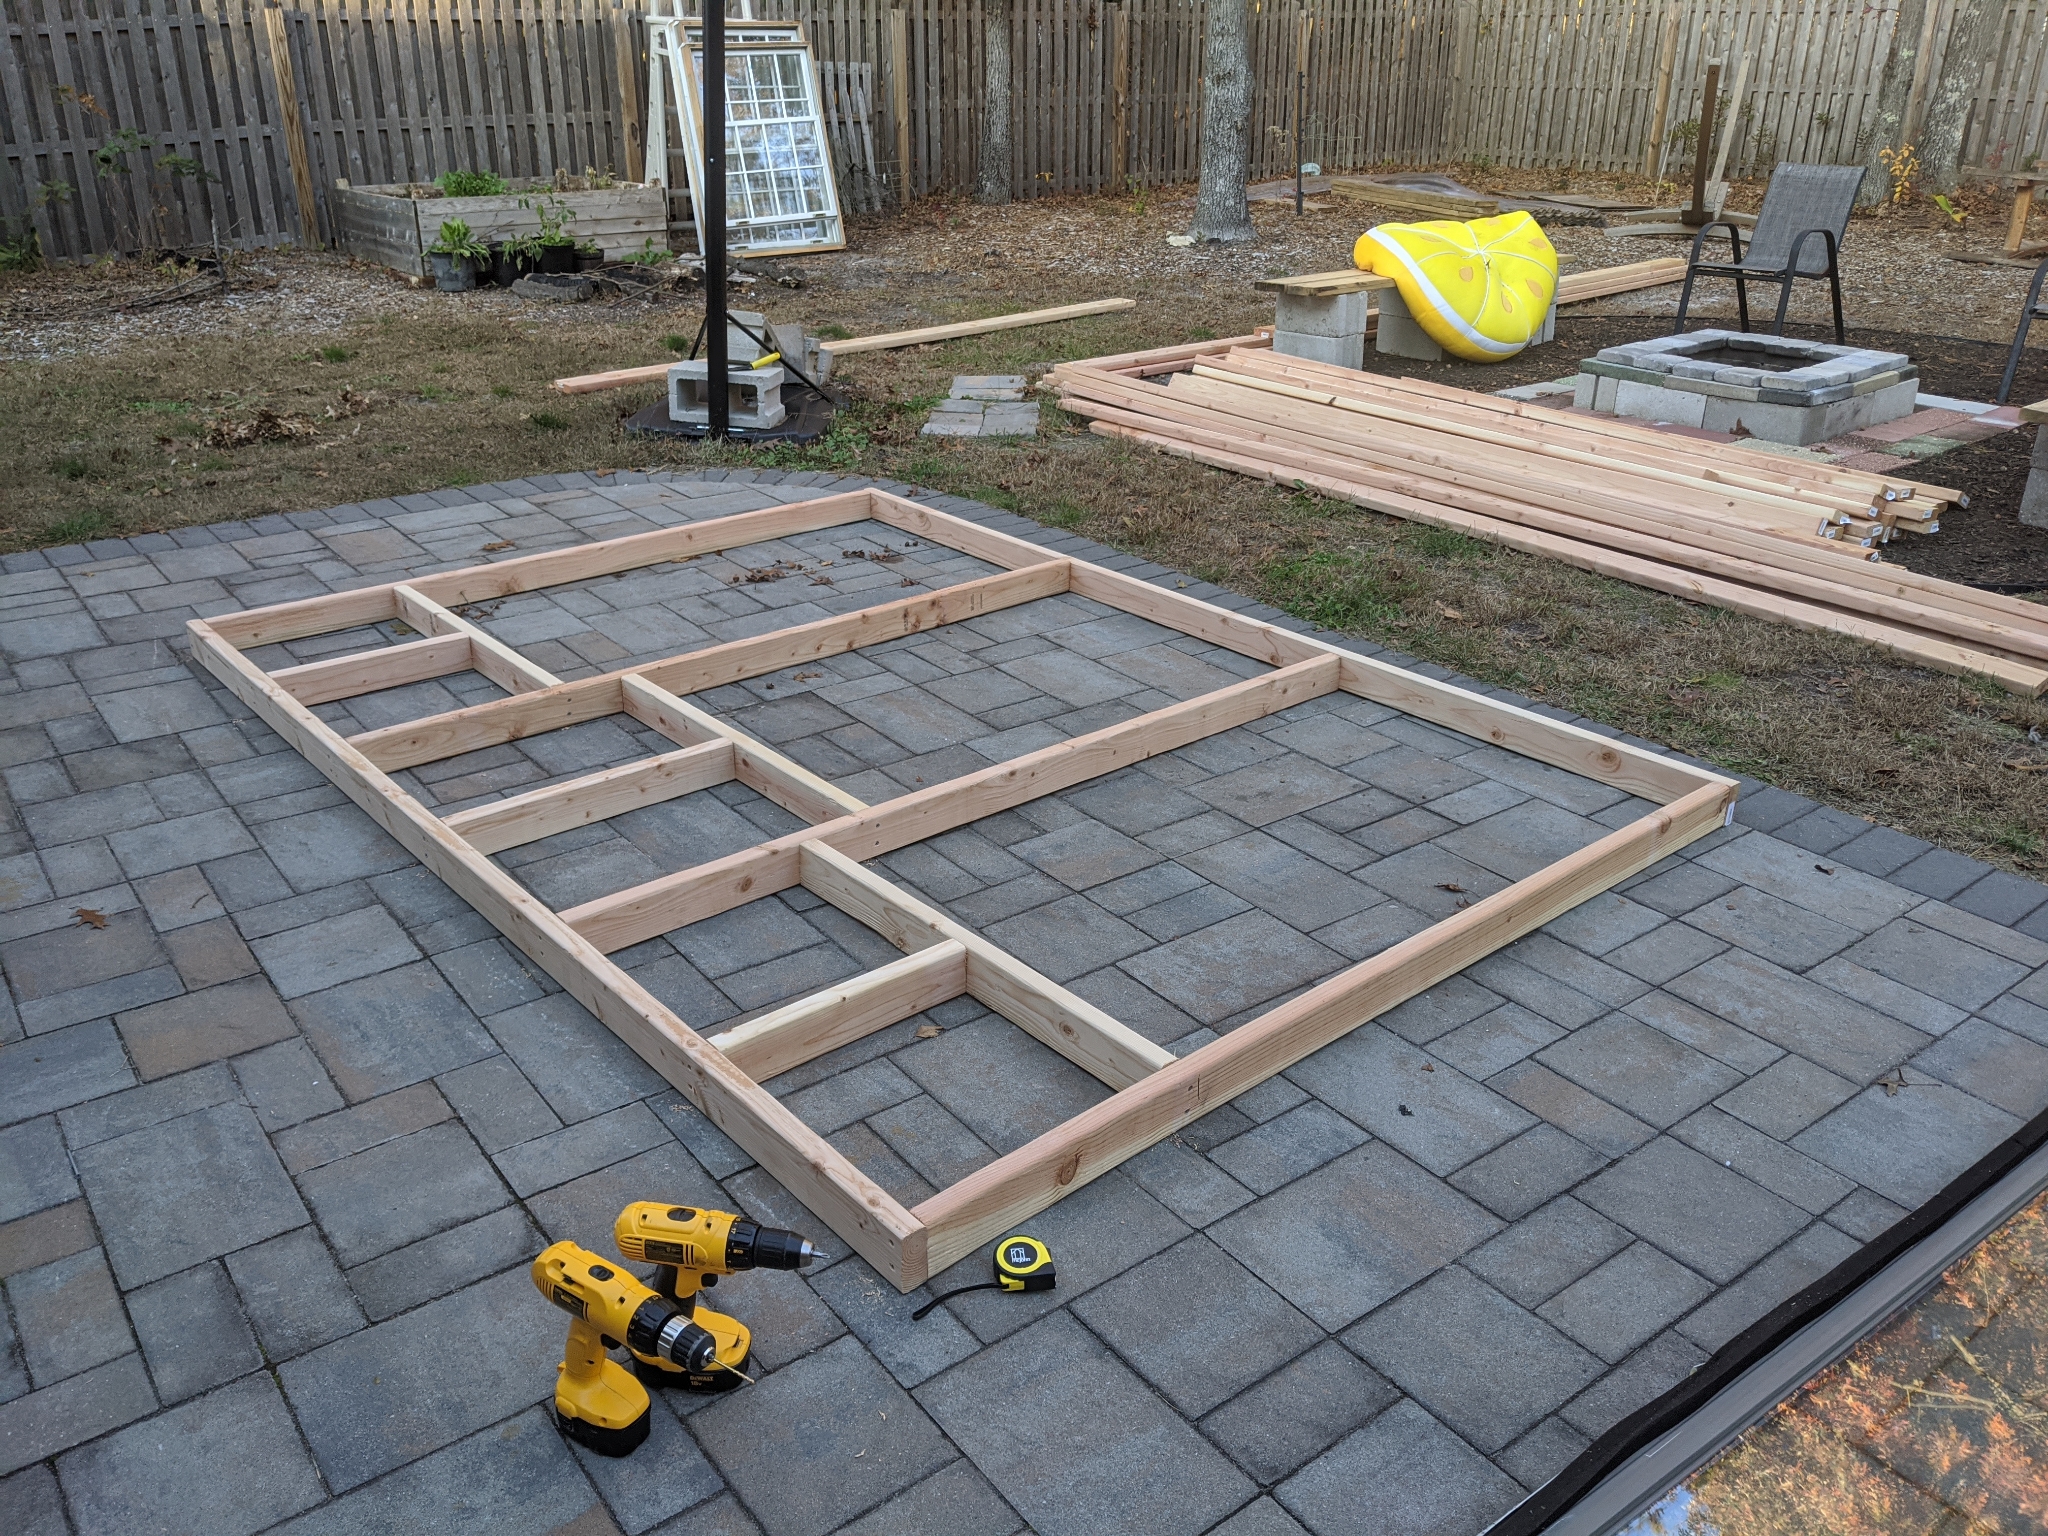
The foundation is made of cinderblocks and I have a base of 2×6 pressure treated lumber to lay on top of them. This will keep the studs away from the ground so that the wood in the walls won’t rot. When I dug my trench for the foundation, I measured so that the walls would land in the middle of the run of blocks. I put a stake beyond the end of each wall and ran twine between the stakes so I would have a guide to dig a staight trench.
Our soil is very sandy and there was only one substantial root I had to deal with in this area. I dug out the sand around it and cut it out with a hand saw. What a workout!
[/su_column][/su_row]
I leveled all these bricks and to make sure the front wall an the back wall were level with each other, I used a piece of lumber to stretch across from one side to the other and leveled that.
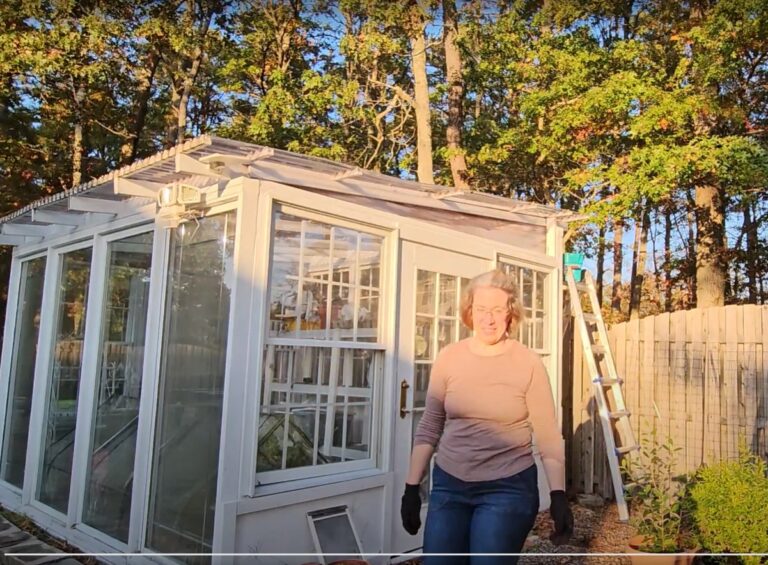
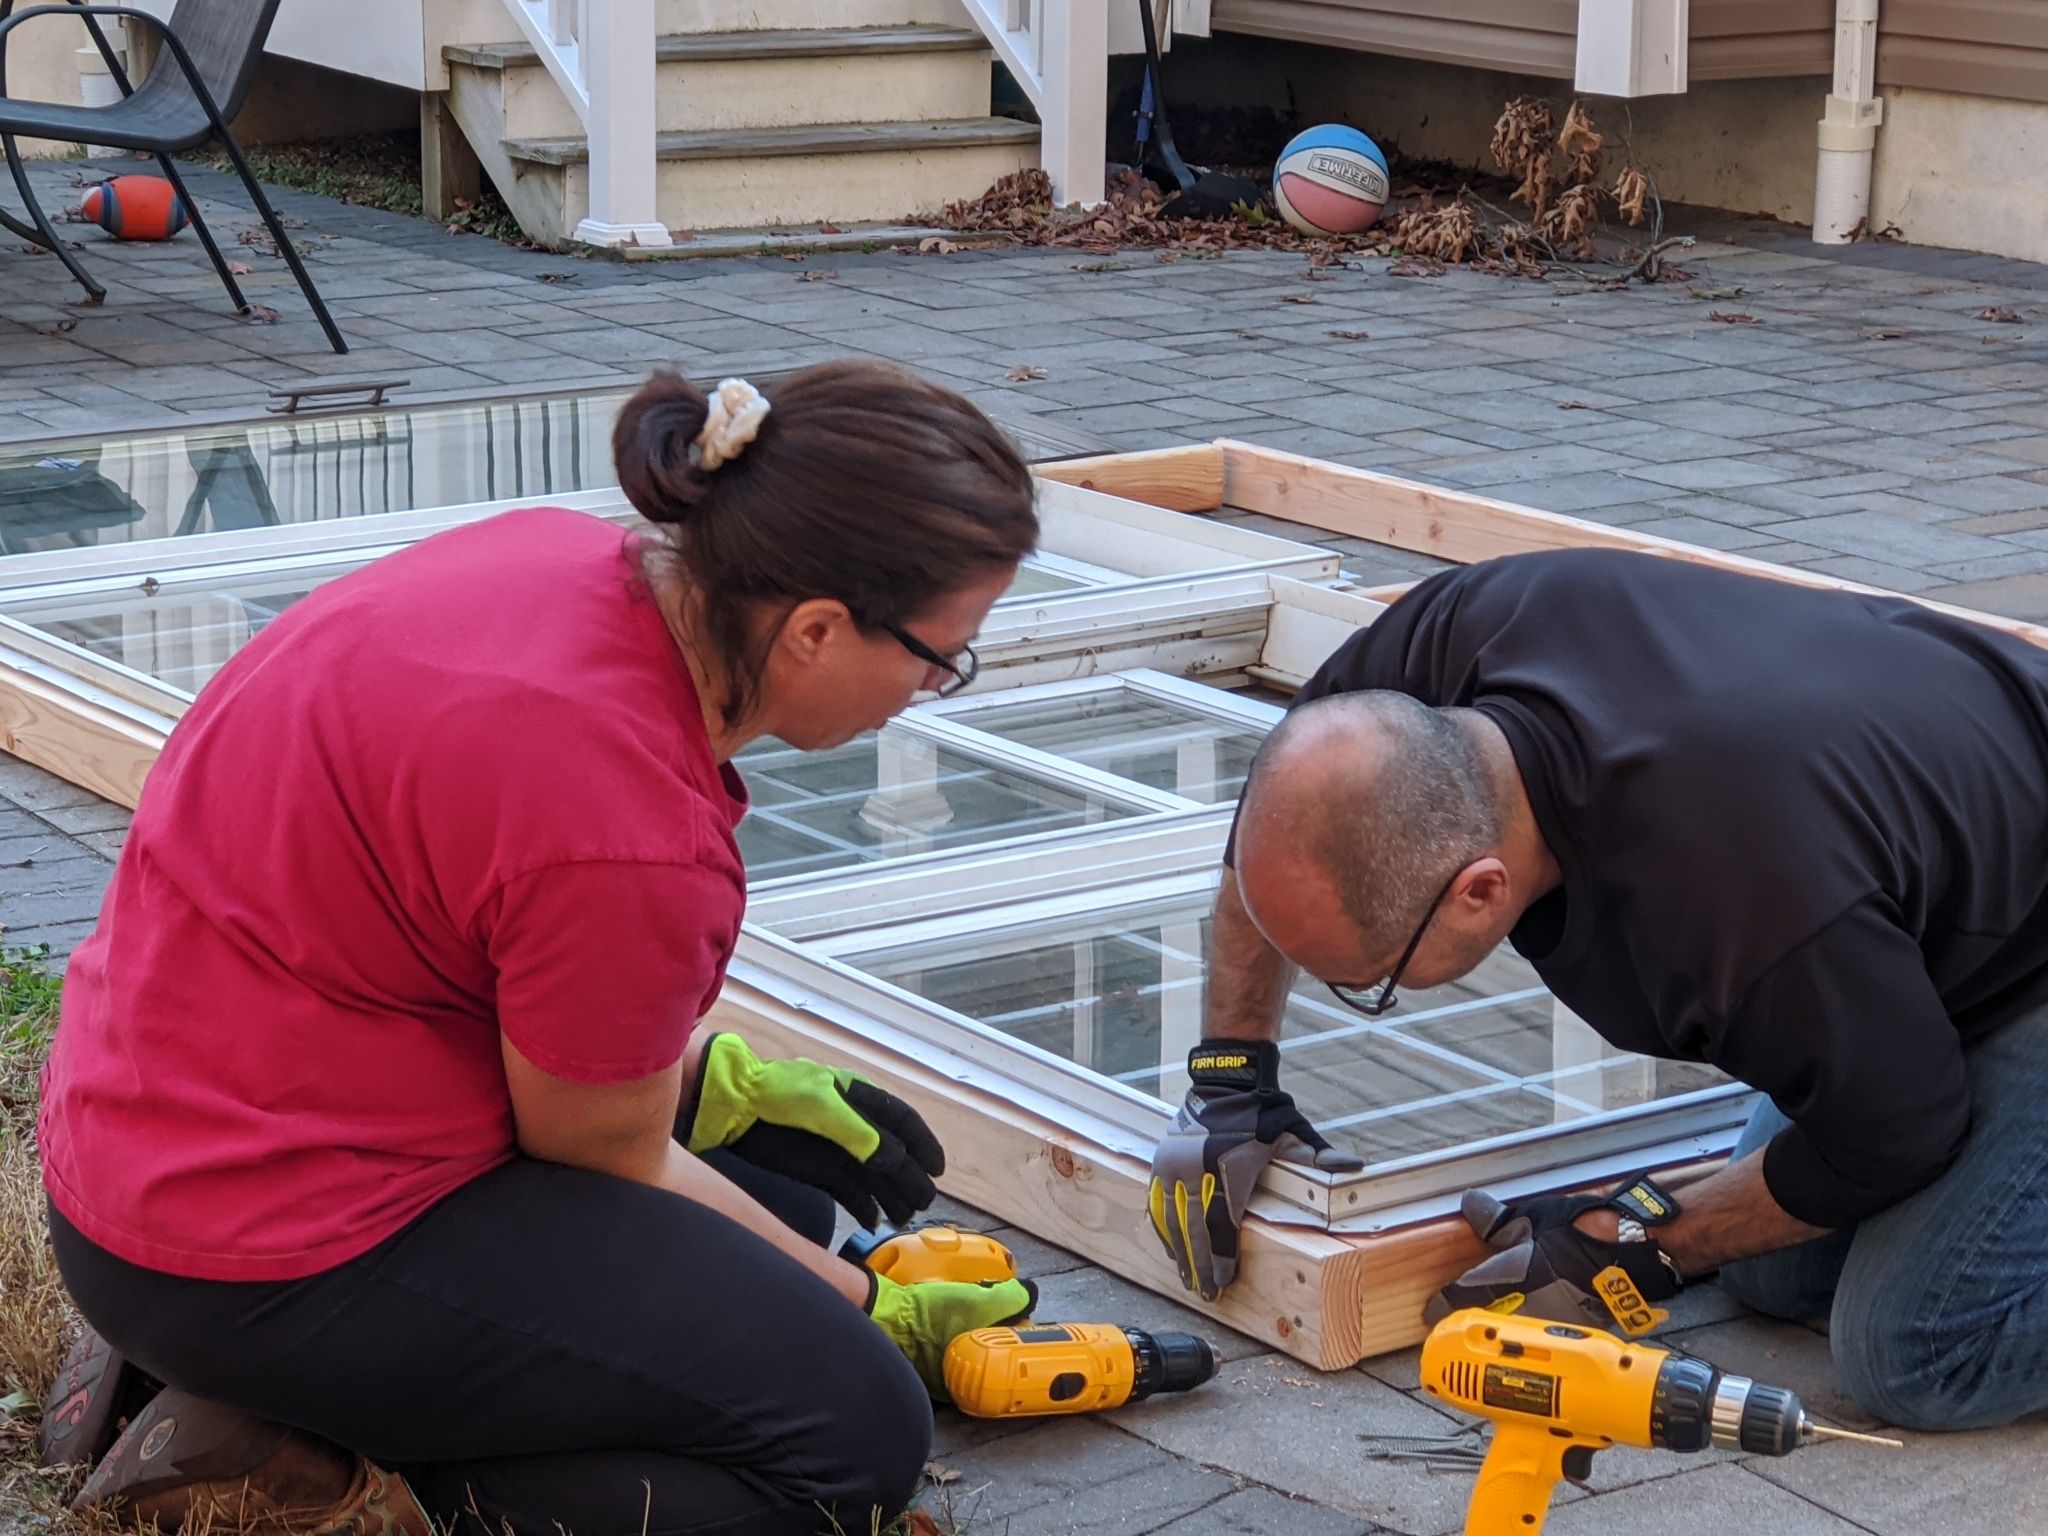
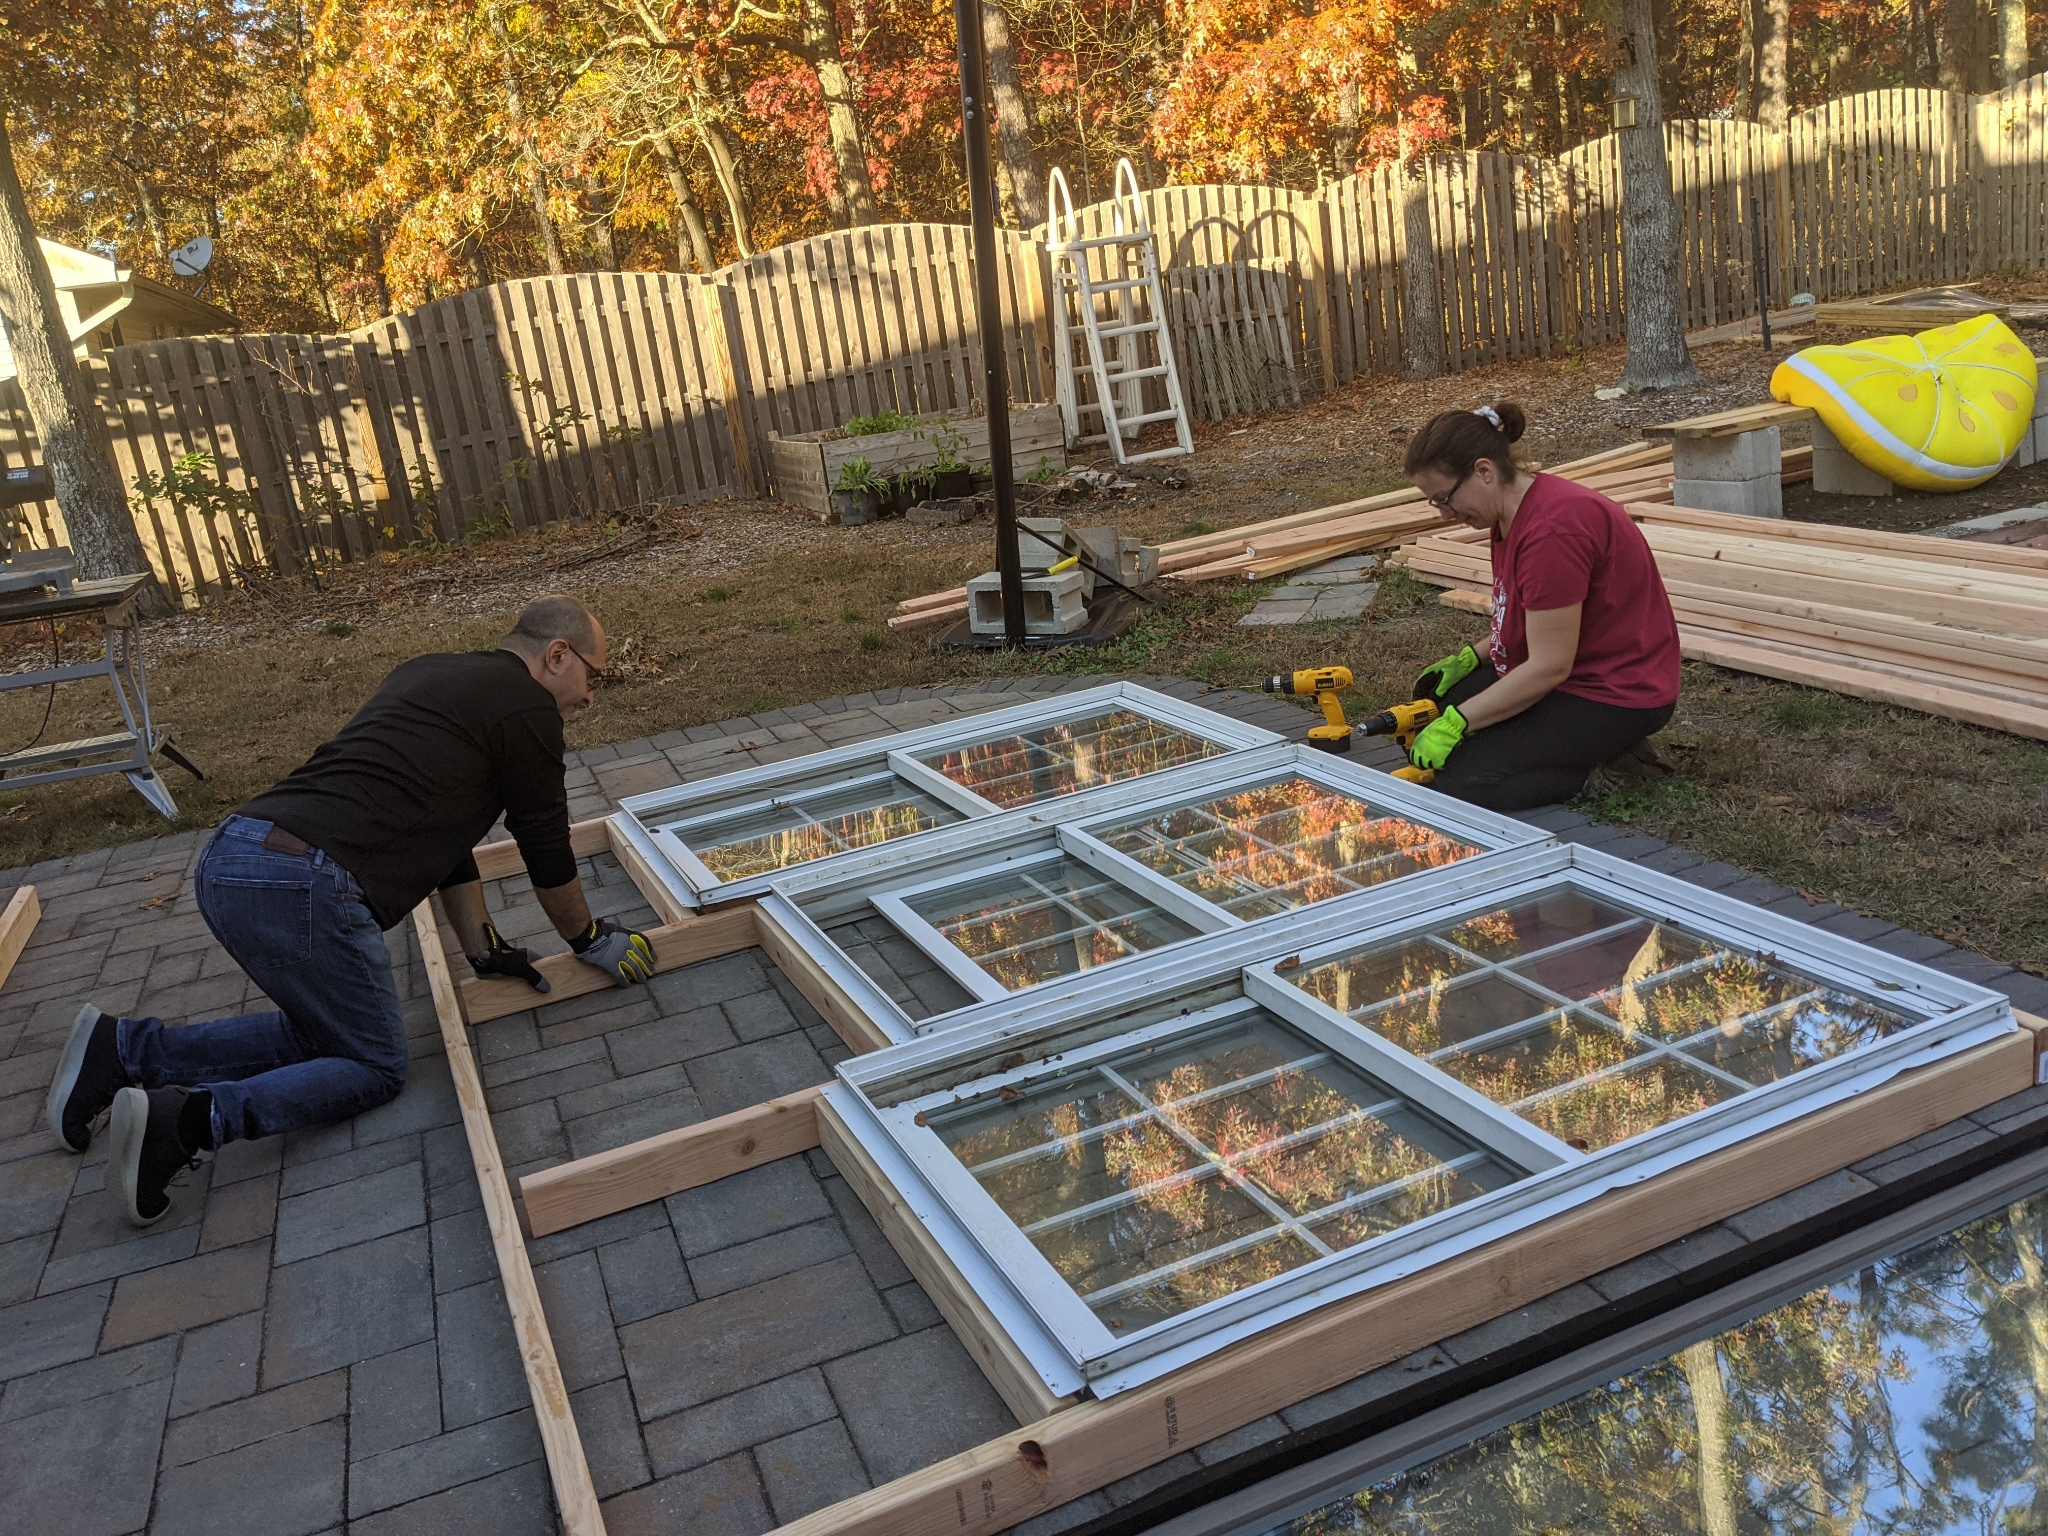
[su_row][su_column size=”1/2″ center=”no” class=””]This is the first garden project where I am not able to do the majority of the work myself. I’ve gladly accepted help building beds and arbors, but it was generally not required. With a greenhouse build? I need my husband’s help because those windows and slider doors are HEAVY. Thankfully, we both had time on Saturday to lay out the framing for the first wall.
We started with the short wall opposite the door. This one has 3 windows, one was just a bit shorter than the other two, so I decided to put that one in the middle so it’s opposite the door, which is also an odd size between 2 of the same sized windows.
[/su_column]
[su_column size=”1/2″ center=”no” class=””]
[/su_column][/su_row]
The windows I sourced from Facebook Marketplace all came from the same seller. They were replaced during a renovation and still have the frame attached! This will make it easty to secure them to the studs.
[su_row]
[su_column size=”1/3″ center=”no” class=””]
[/su_column]
[su_column size=”1/3″ center=”no” class=””]
[/su_column]
[su_column size=”1/3″ center=”no” class=””]
[/su_column]
[/su_row]
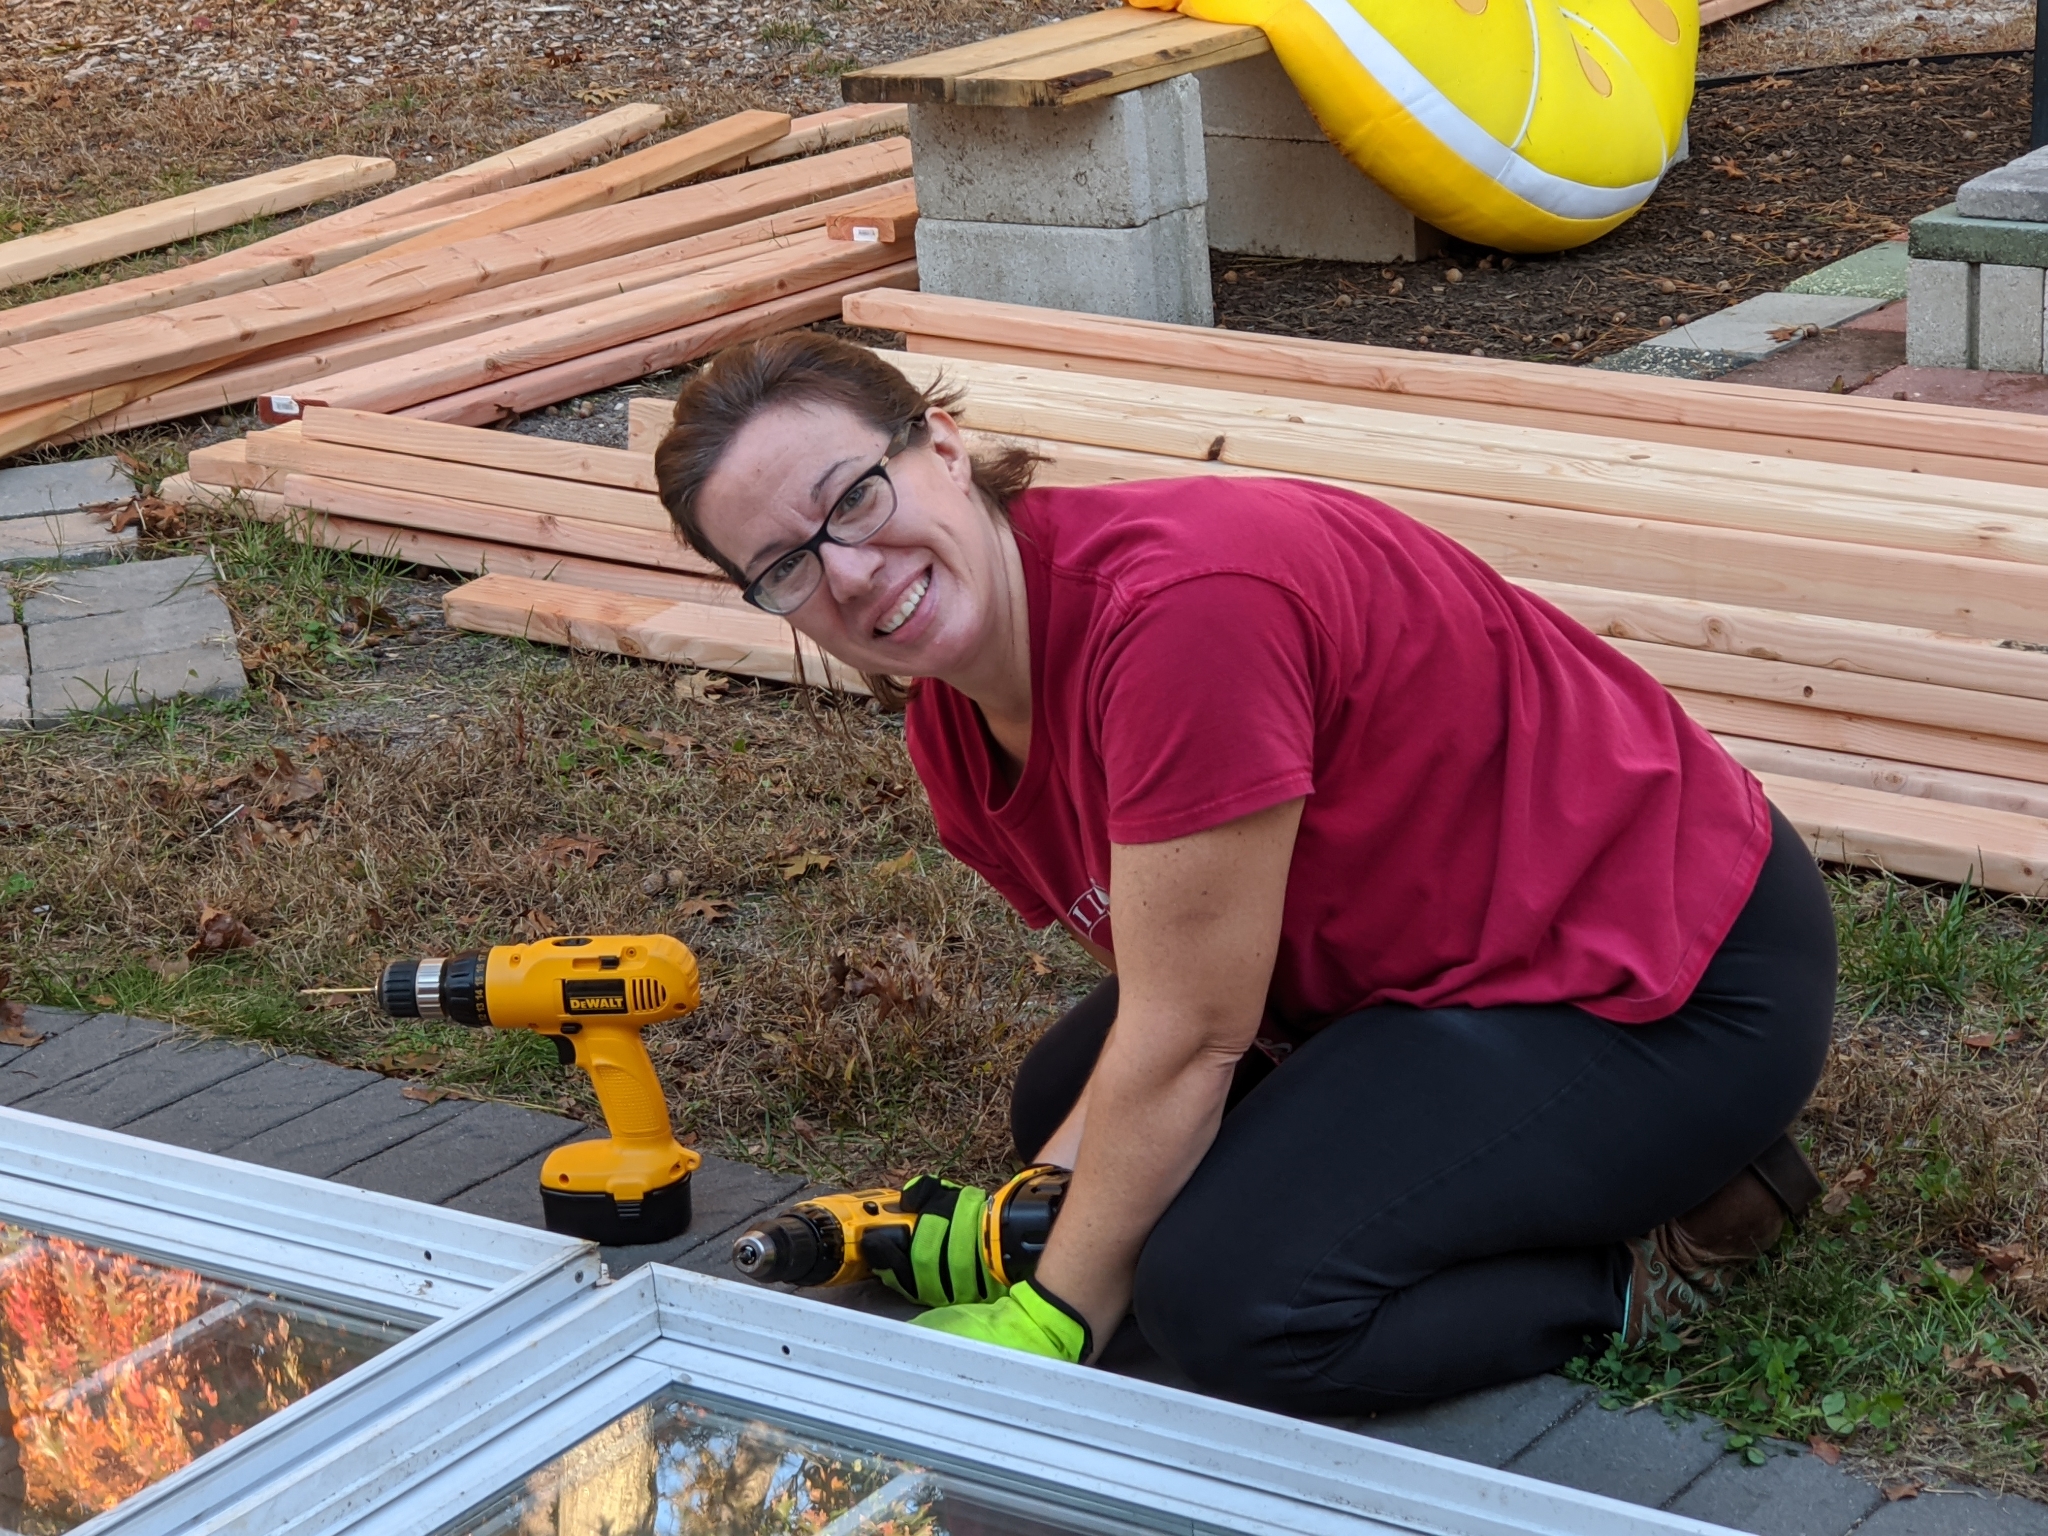
Already, we’ve deviated from my original drawing. We decided to do verticle studs that go from the bottom to the top of the wall between each window. It makes much more sense than the way I drew it out, I think this uses less wood and is more stable than my original plan.
I had envisioned building the frame while it was standing up on the foundation, but husband thought it made more sense to build it laying down on the flat surface of our patio and build it around the windows to make sure everything fits. We have 2 drills, one with a bit for pilot holes and one to screw in the 3 inch wood screws. It worked out well and everything line up perfectly with this first framed wall.
Once we finish framing the walls, we will set them up on the foundation and attach them together. At that point, we will install the windows into the frame.
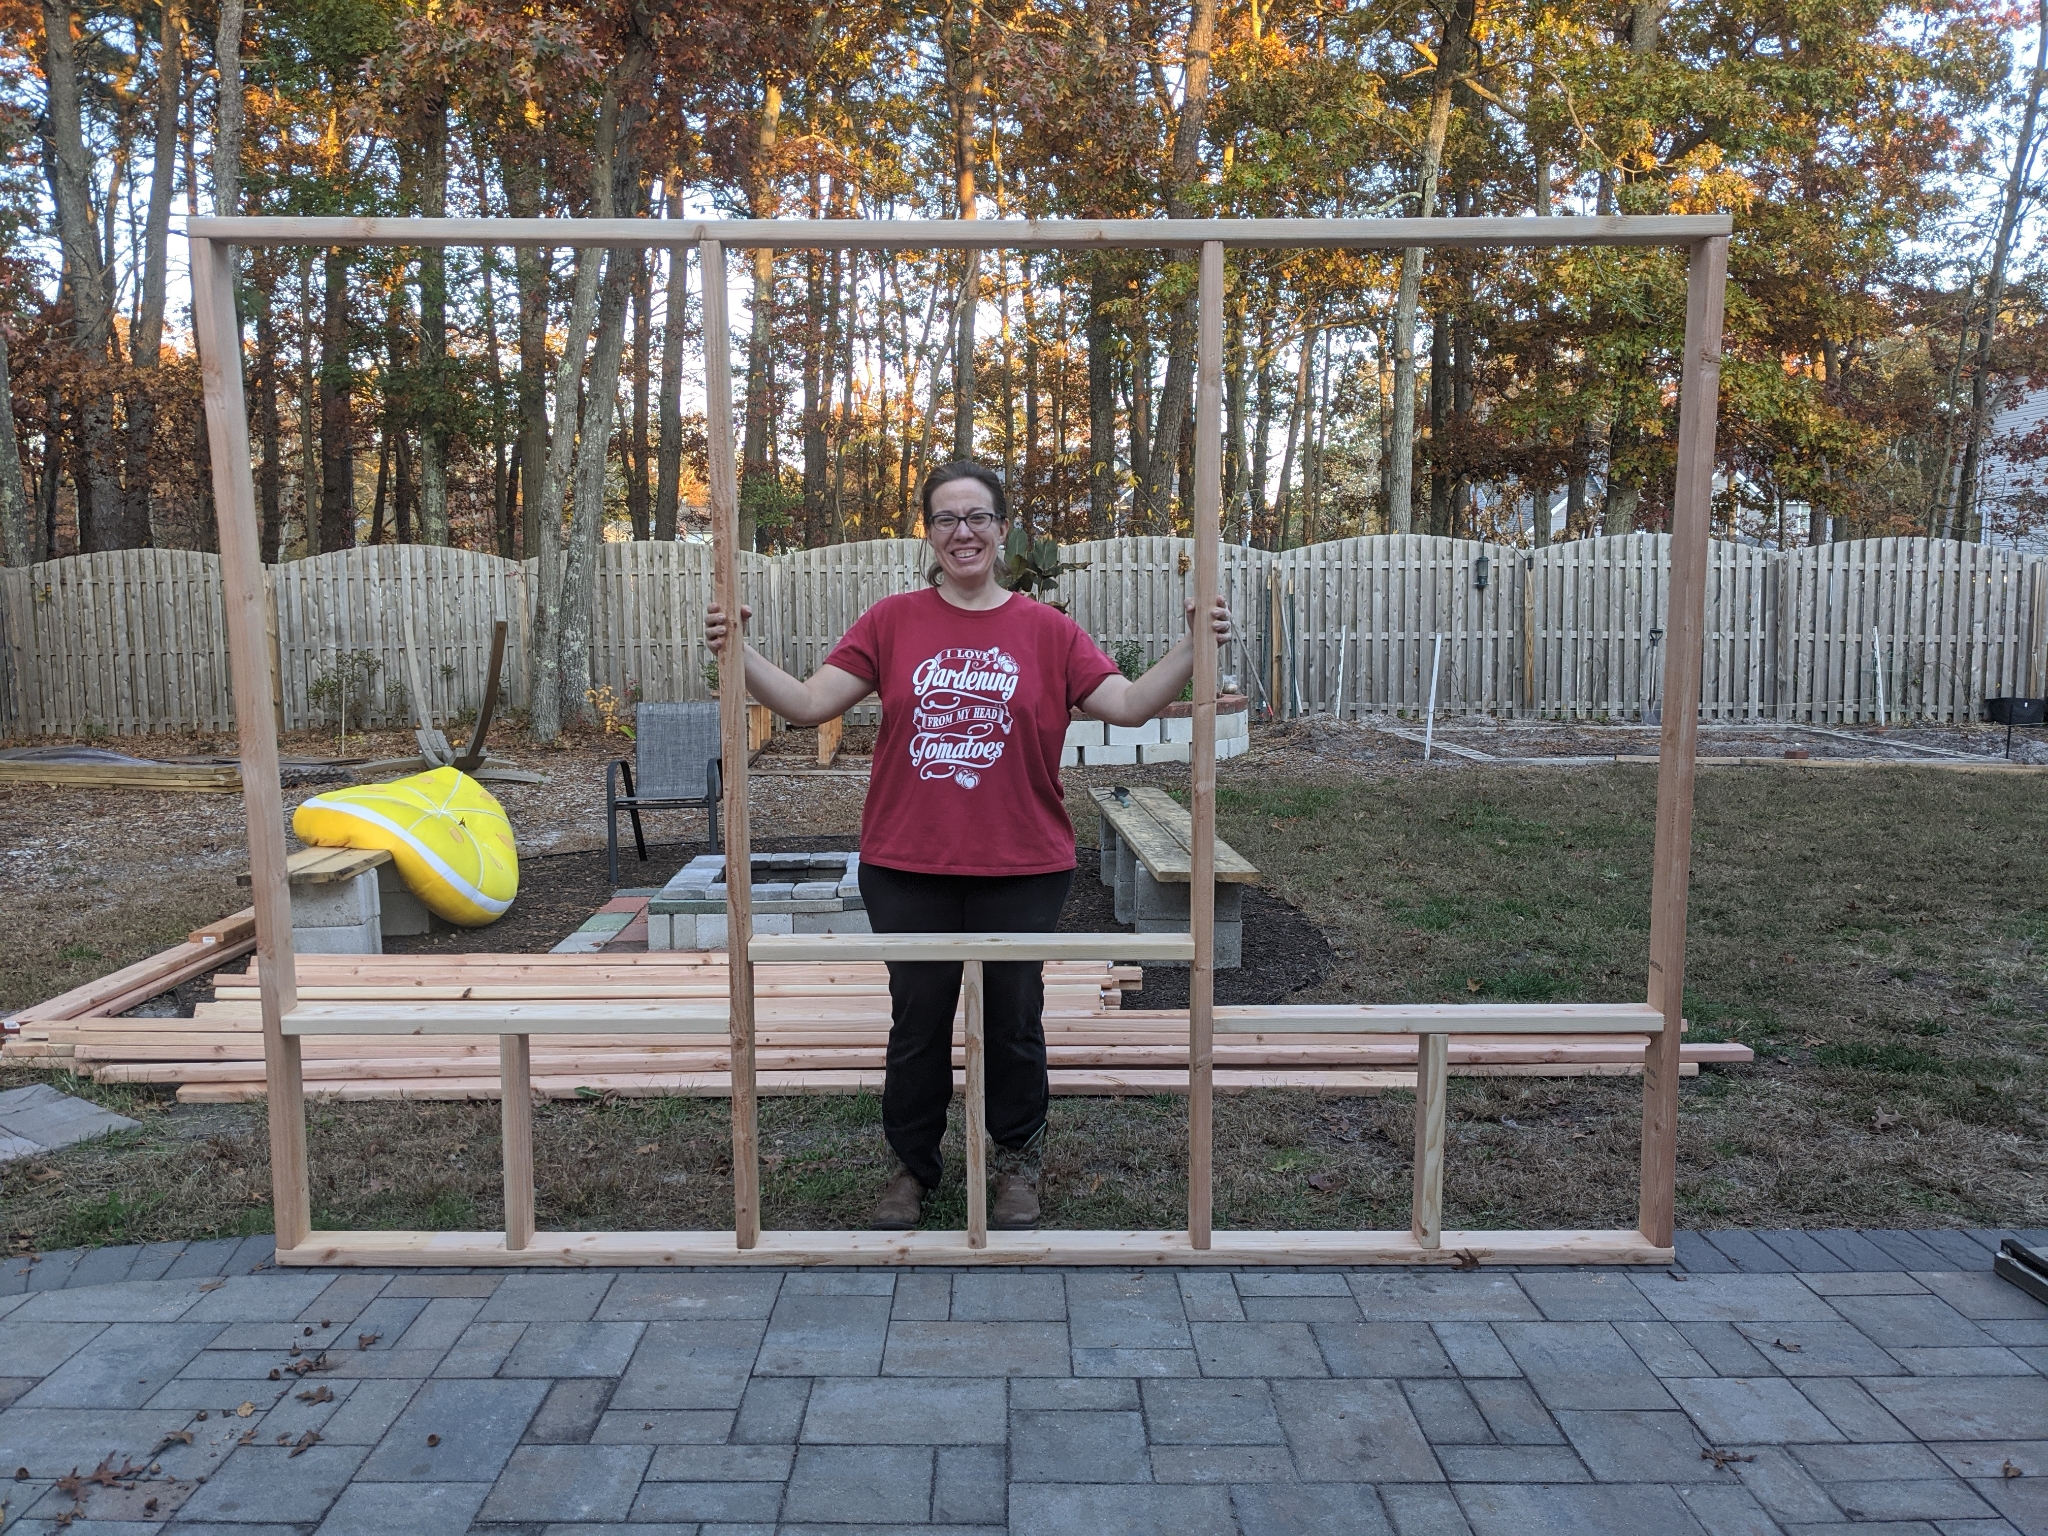
We will try to grab some time this week to put together the back wall next. This will be the high wall and we have 4 windows that are all exactly the same size.
Related Posts