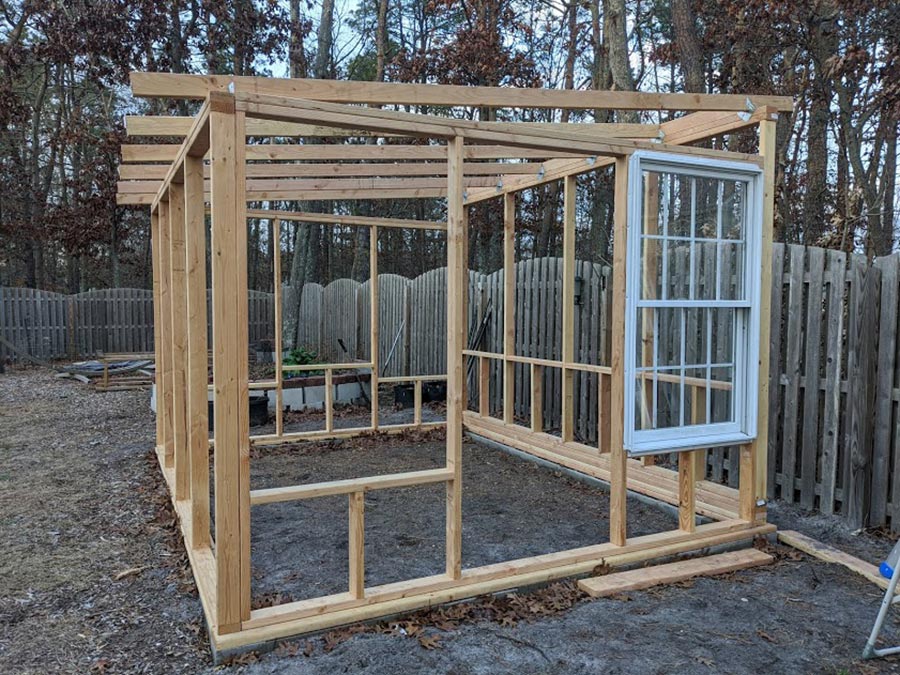
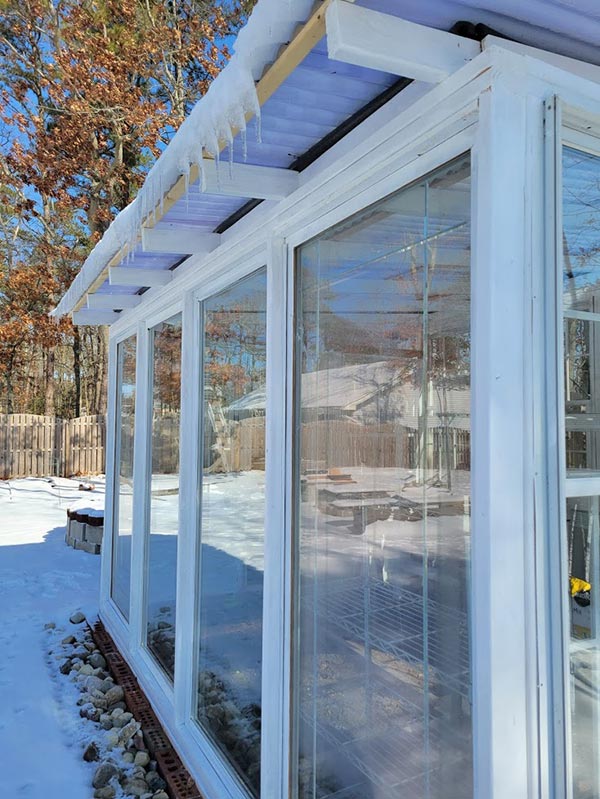
Seeing the walls of our DIY greenhouse standing up is really a wild feeling. We are bringing an idea into a reality! So far, for the most part, everything fits as it should.
There are 2×6 base plates of treated lumber that lay on top of the foundation bricks. These will keep the framed walls up away from the soil and hopefully prolong the life of the greenhouse. The way the walls come together on the foundation, the long walls are fixed on the outside of the short walls. The baseplates are laid down so that the short walls are on the outside and the long walls are sandwiched between. We will simply screw the framed walls down onto the baseplates. I chose not to pour concrete into the cinderblocks or use carriage bolts to secure them to the foundation because then I would need to cut out or build around the bolts and I don’t think they are needed, since shed builders don’t usually do it and the building will be so heavy, it’s not going to shift on it’s own.
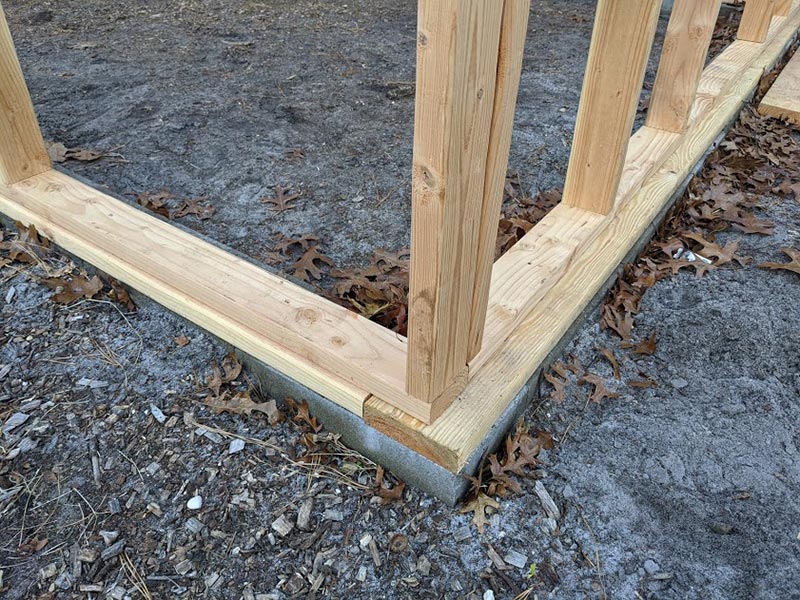 The pressure treated base plates under the 2×4 framed walls
[/su_column]
[su_column size=”1/2″ center=”no” class=””]
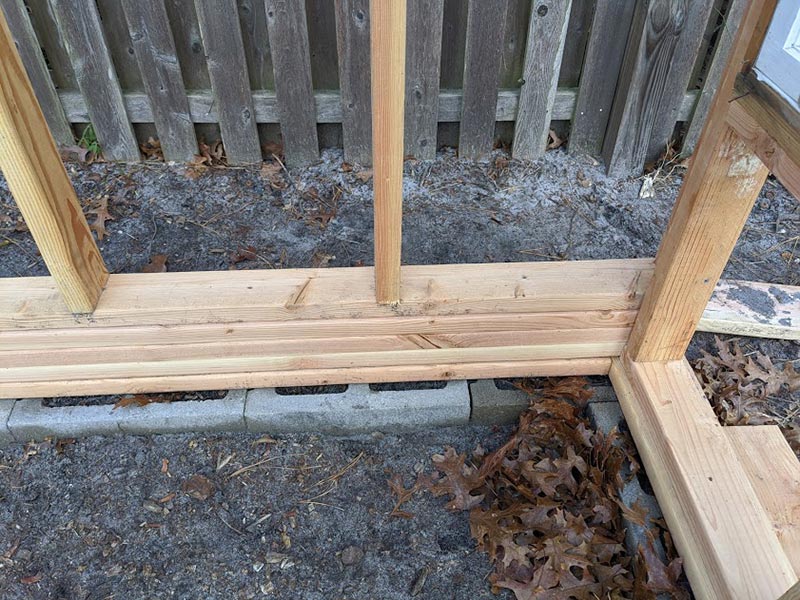 a stack of 2x4s under the back wall to raise the pitch of the roof because when we first built and assembled, the back wall was too short.
[/su_column][/su_row]
We used 3″ exterior construction wood screws for all the framing. I wanted it to be very sturdy, so even though screws cost more than nails… we aren’t building a two story house or anything. I was ok with spending more on the screws to make sure everything is nice and tight.
Once we were finished framing all four walls, we put the back wall onto the baseplate first. We used a 2×4 to prop it up and just put in a single screw to hold it while we set the door wall in place. Once we propped that wall up with another 2×4, we put up the other 2 walls and screwed them together at the corners with 2 screws – one up high and one down low… then we checked to make sure everything fit well. It turns out the door wall is about an inch shorter than the opposite wall which STINKS because we could have used that extra inch around the door. I wanted to frame the door completely to give it more support and so we didn’t put that much stress on a single 2×4 around the door. Now, to frame the door the way I want to, I’ll need to cut an inch off the door to make it fit.
We made some mistakes! Here’s how we fixed them.
It took me some time to finish this blog post…. During that break, we made some adjustments. I really did NOT want to have to cut anything off of the exterior French door to make it fit. My son and I took a ride to Home Depot in my Ford Ranger and picked up more lumber to double up the top plates of all four walls and get an extra roof rafter. I decided to take apart that door wall and expand it an inch wider so the door will absolutely fit with a frame around it.
When we first built the back wall of the greenhouse, we made it only 6″ taller than the front wall. Once constructed (and after I did some research) I decided the pitch was too shallow. We added 3 more 2x4s as a spacer under the back wall to boost it up and increase the pitch of the roof. This may still be too low, but it’s better than it was before.
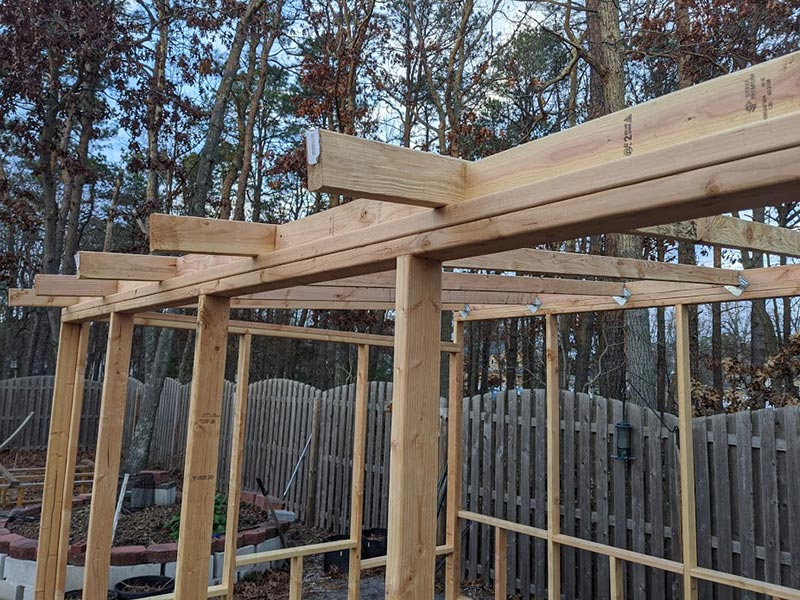
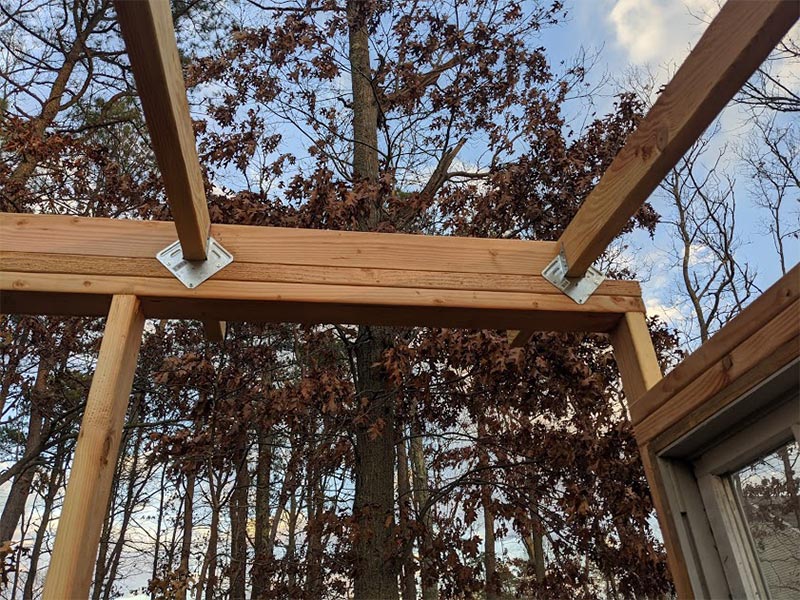
We used metal brackets to put up the rafters 27″ apart and then scraps of 2x4s to fill in the gaps between each rafter so there aren’t giant holes in between them after we put the roof panels on.
[su_row][su_column size=”1/2″ center=”no” class=””]
[/su_column]
[su_column size=”1/2″ center=”no” class=””]
[/su_column][/su_row]
Make sure to label your windows and your frame for installation.
I don’t know why I was so surprised when we popped in that first window and it actually FIT in the frame! Here’s a tip! When building your frame, and piecing together where each window will go, make sure you label the hole in the frame and the window that fits. Even if your windows are all supposed to be the same size, The windows may not fit if you don’t put them into the spaces you originally fashioned for them. I didn’t start labeling the windows and holes until we framed the second wall, so we only had to shuffle the windows on the short wall opposite the door when we installed them. This will be especially important if you have to move your supplies around before assembly, like shuffling a deck of cards… I know I’d have trouble remembering which windows go where.
